
Mushroom & Ricotta Black Ravioli
Colored with charcoal powder, these black ravioli are a bold dish.
12| 26| 20
Making ravioli is definitely a project, but it’s not as hard to make as you may think. With some helpful tools, you’ll have your very own ravioli. What’s good is you can make extra and freeze them for later. They only take a few minutes to cook and there you have it, homemade ravioli.

After rolling out the dough on the thinnest setting on the pasta roller, you then place your filling. The filling here is a mix of white button mushrooms and ricotta cheese.
After brushing egg wash on the pasta layer with the filling, you then place another pasta sheet on top, push out any air pockets, and then cut.
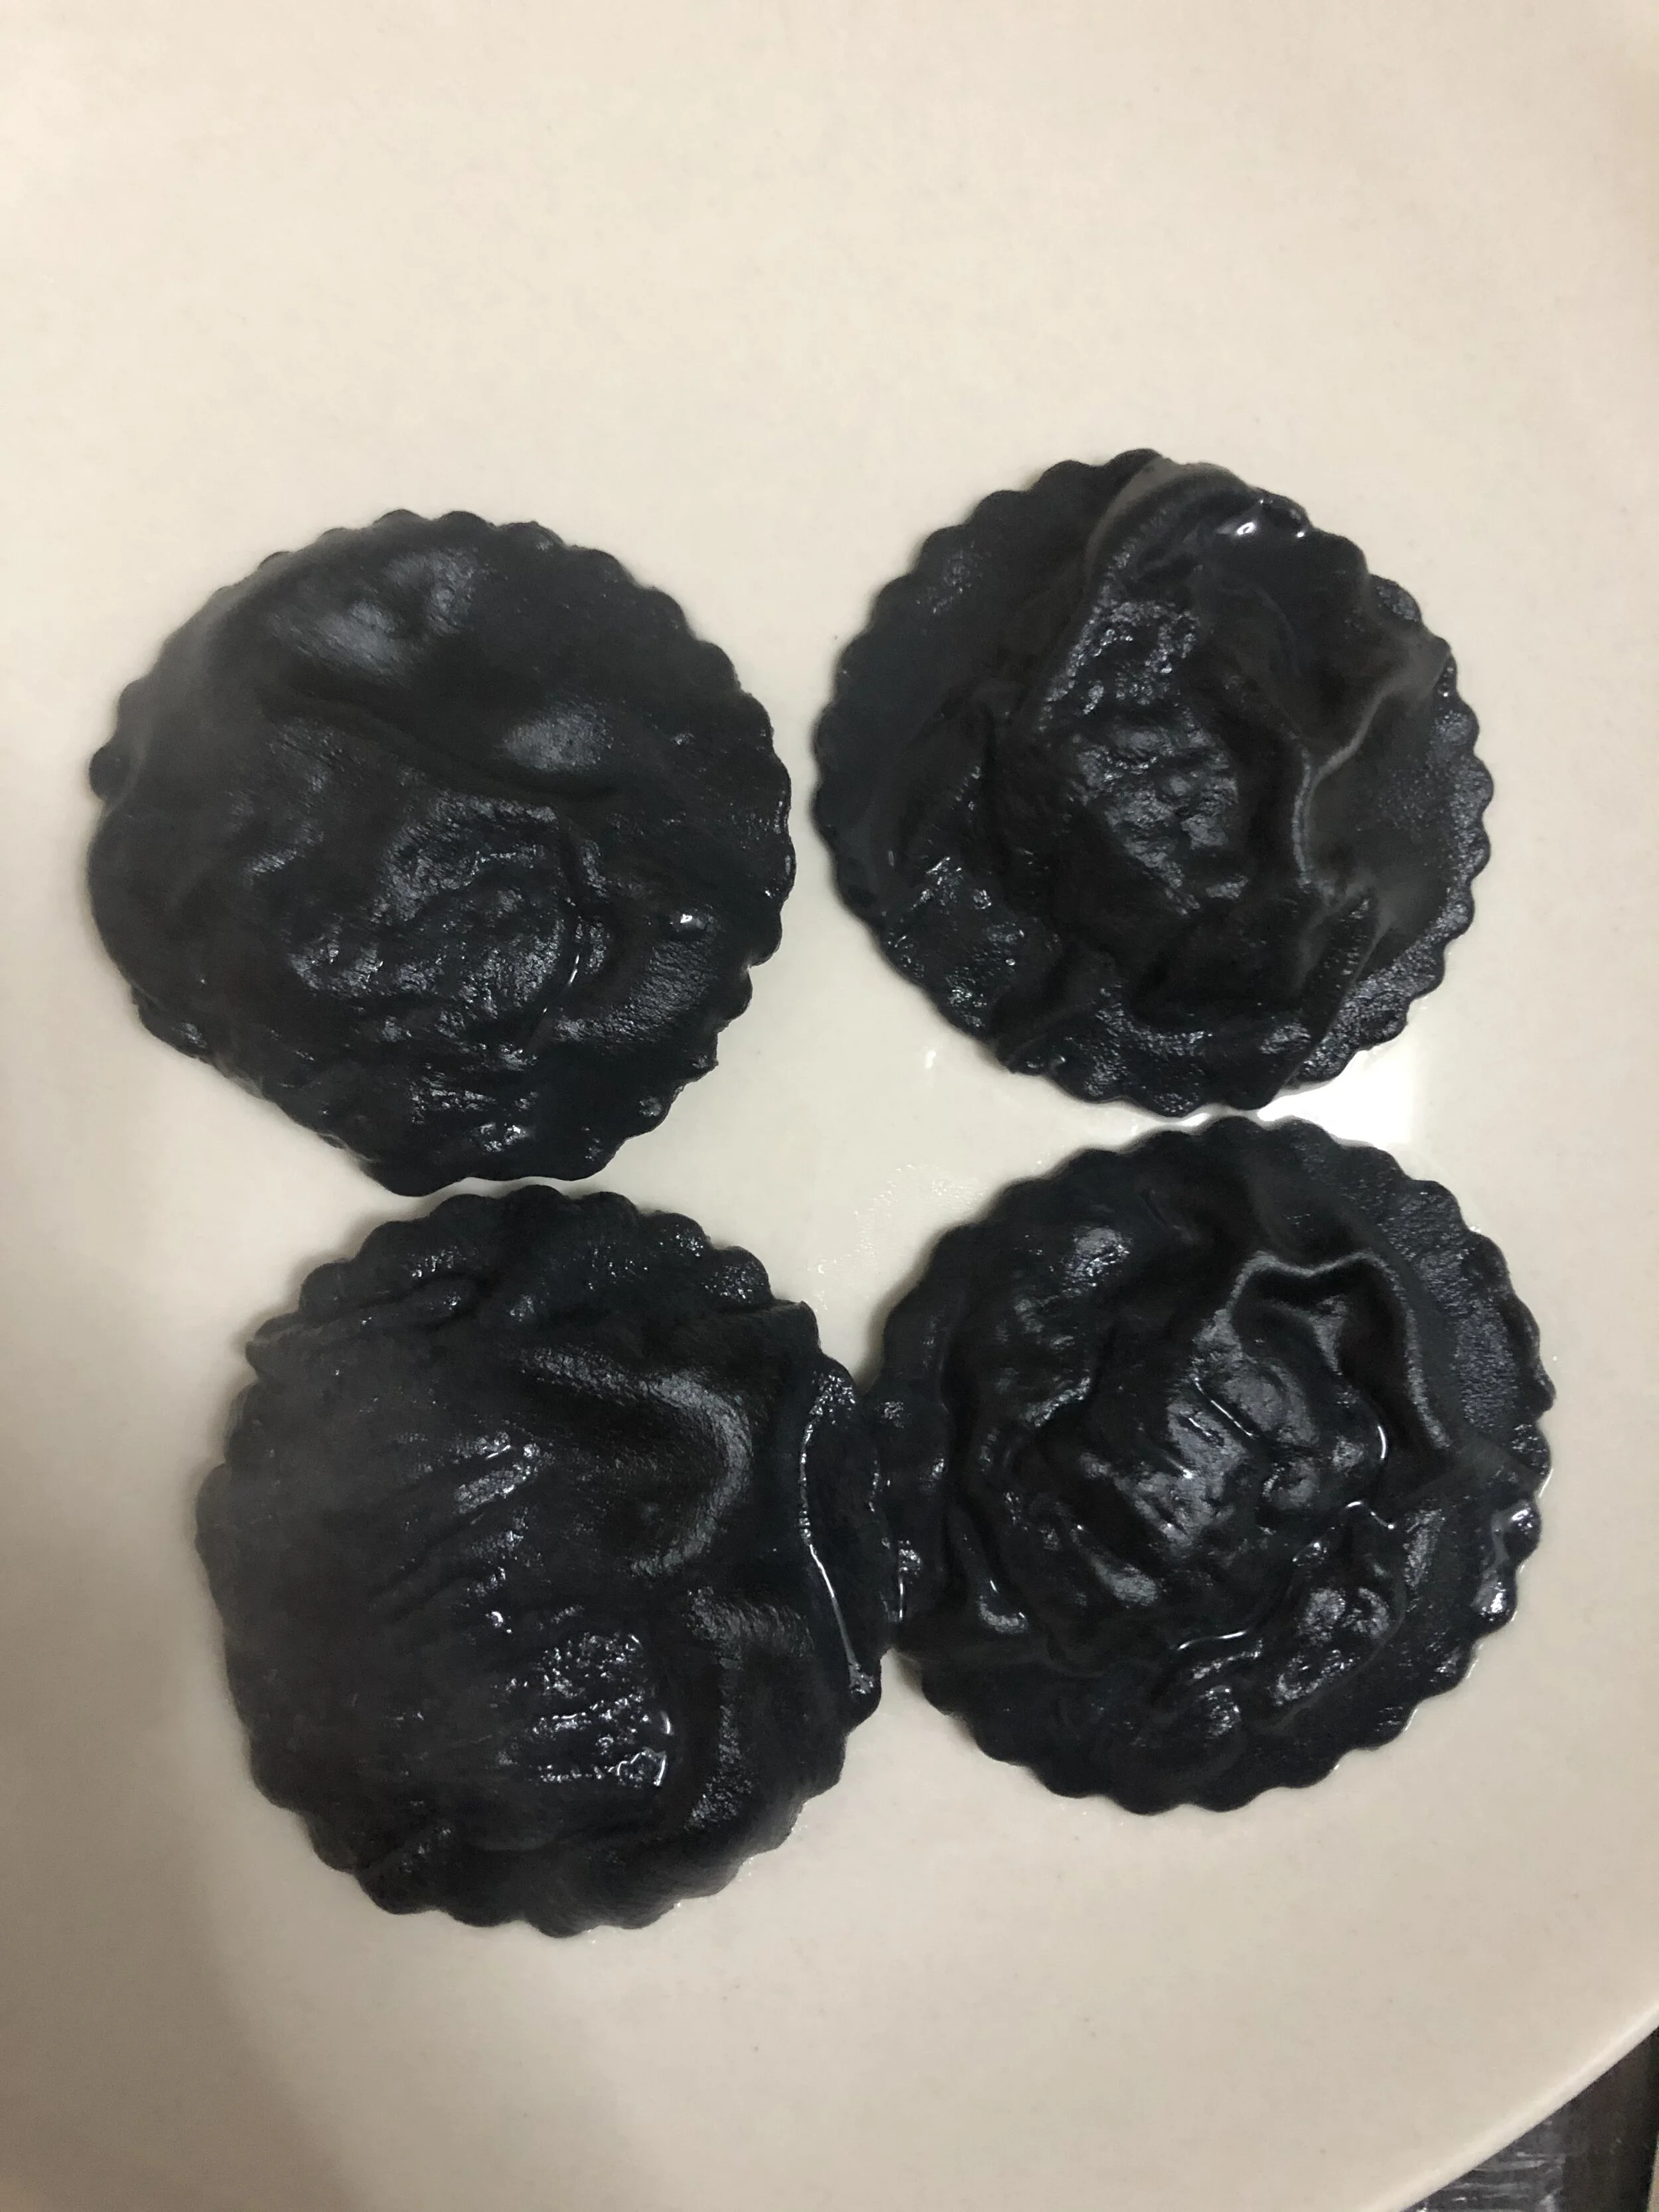
This is how they look after boiling. The excess flour on the exterior comes off and they are a slick black color.
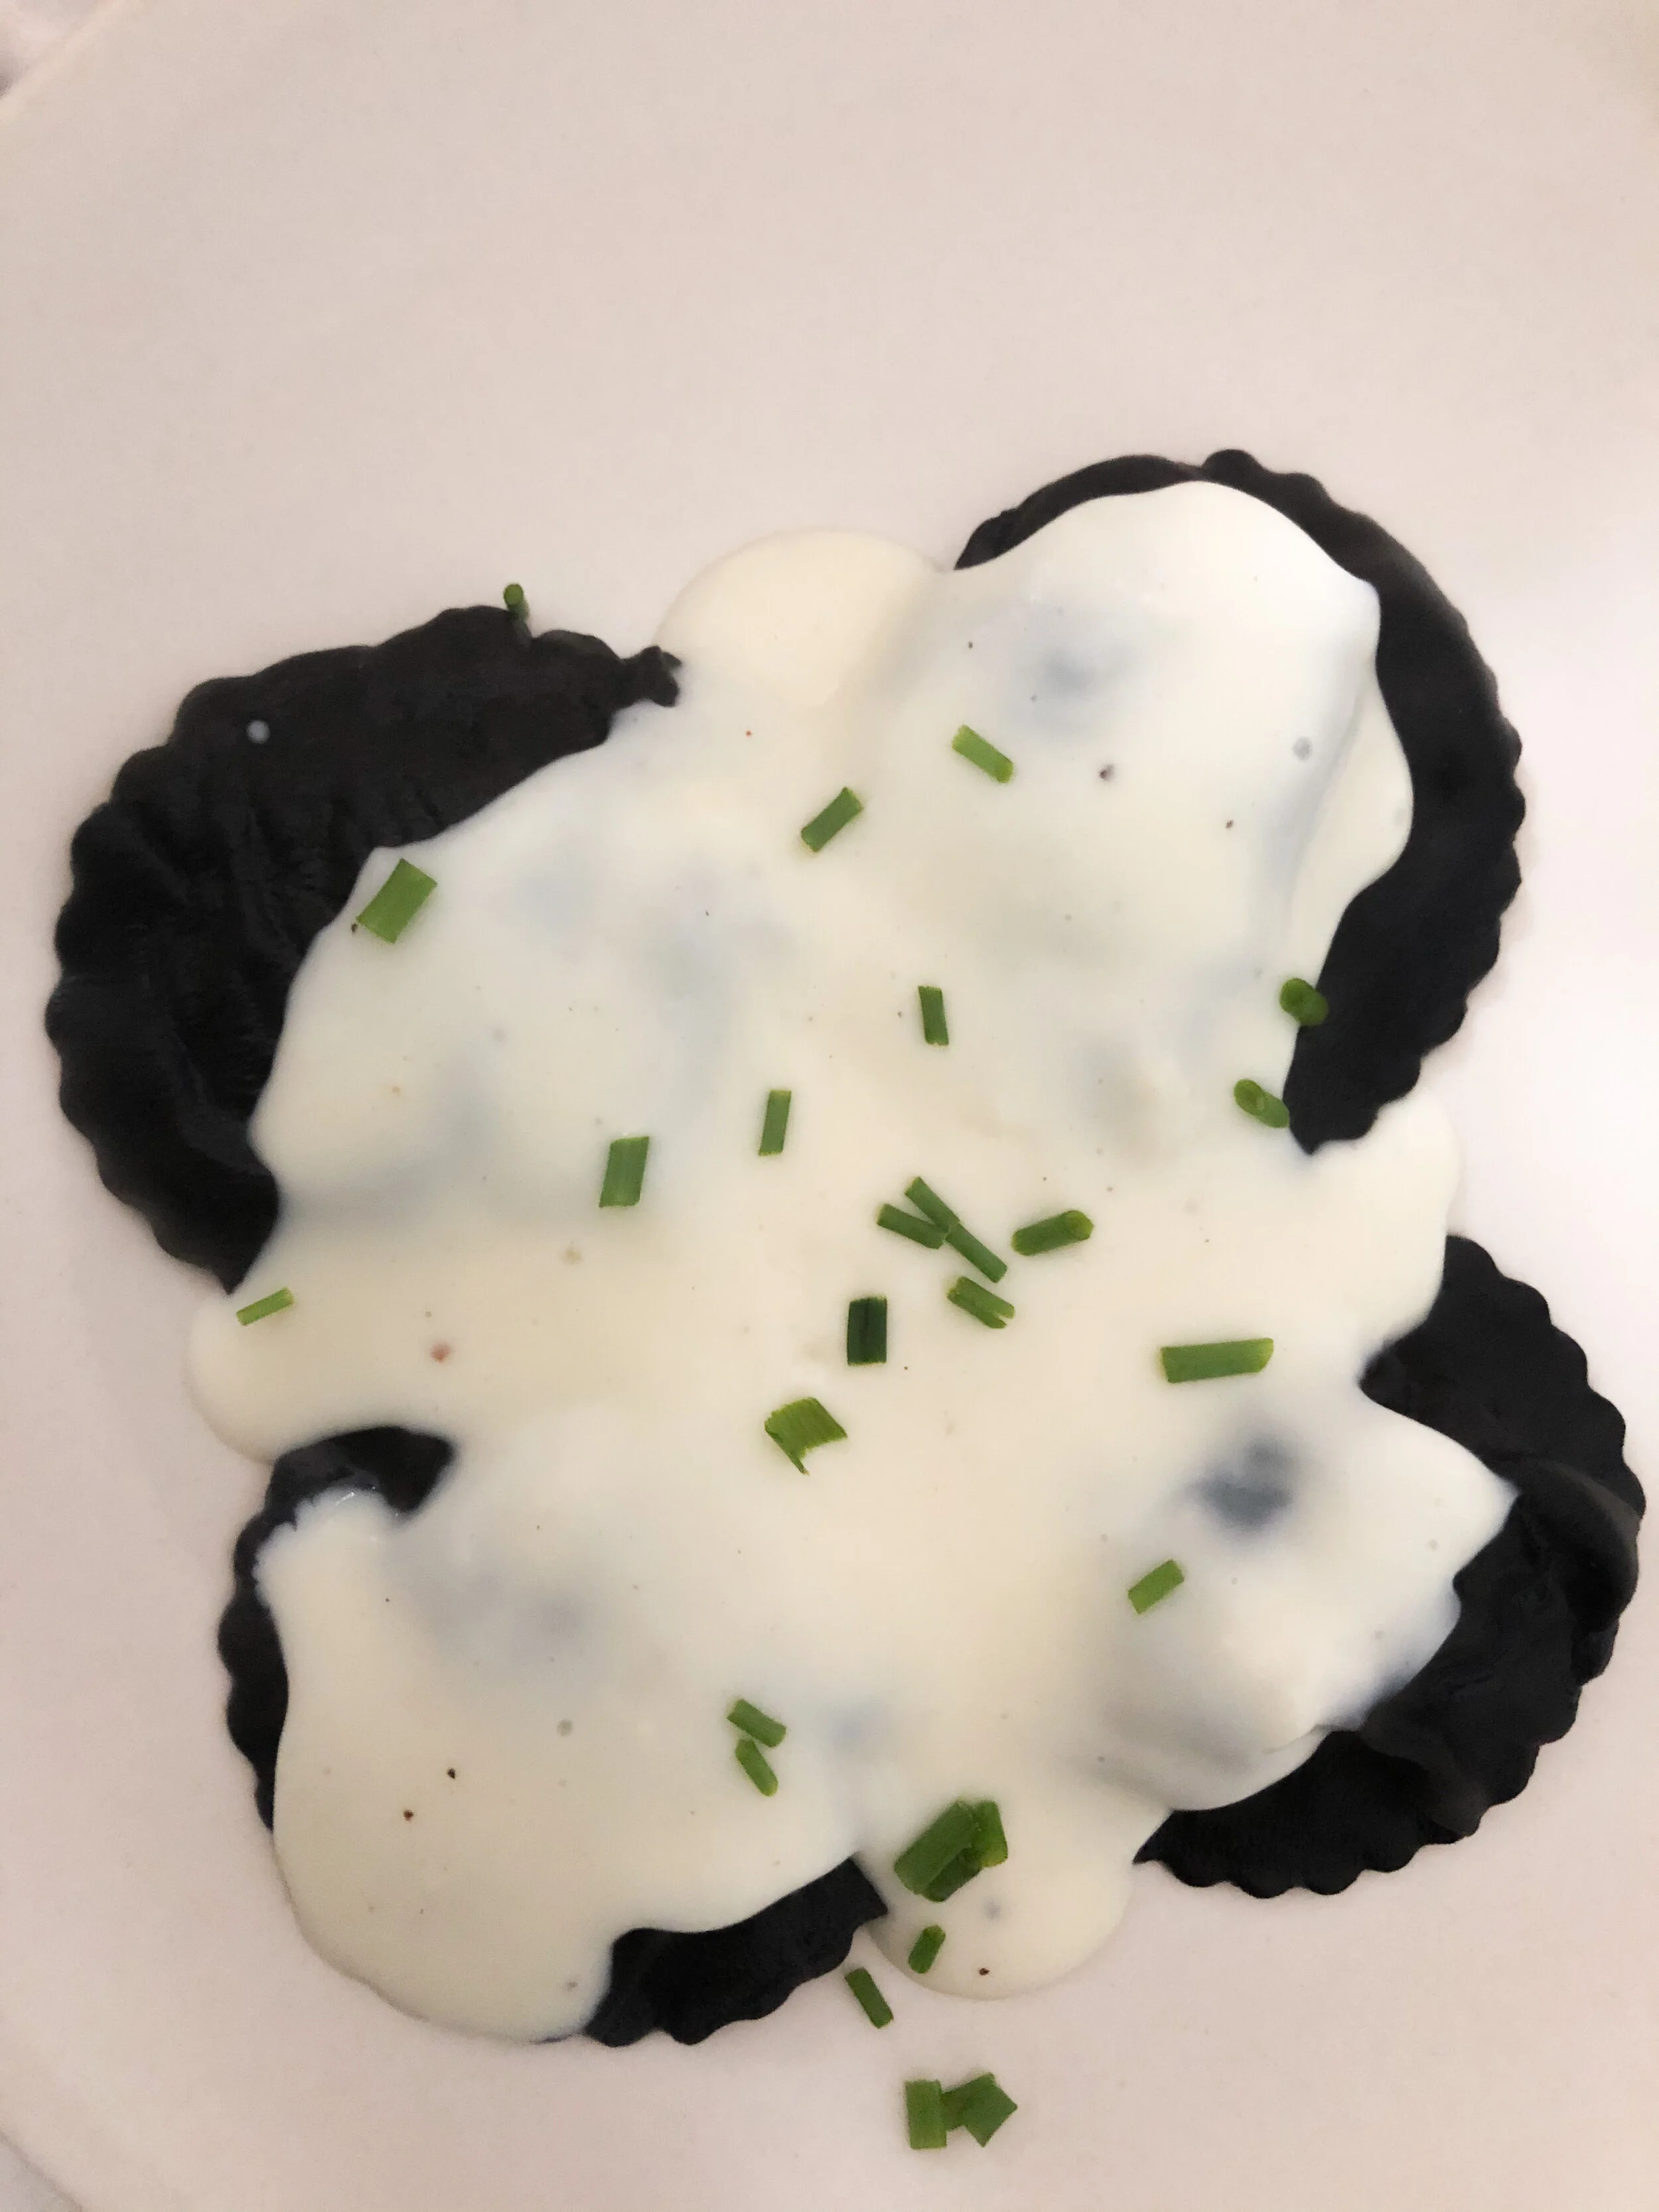
These got topped off with a bechamel sauce and fresh chives, but a number or sauces would be delicious.
Mushroom & Ricotta Ravioli Recipe
Yield: 35 ravioli
Ingredients
Dough:
2 cups all-purpose flour
2 Tablespoons activated charcoal powder
1 teaspoon kosher salt or 1/2 teaspoon table salt
3 large eggs
1 Tablespoon olive oil
Mushroom filling:
14 oz White Buton Mushrooms (or any other type of your choice), small dice
2 shallots, small dice
1 1/2 Tablespoons olive oil
1 1/2 teaspoons dried oregano
1 1/2 teaspoons chicken powder
1 teaspoon garlic powder or 4 cloves fresh garlic, minced
Salt and black pepper to taste
15 oz ricotta cheese
2 large eggs
1 egg (for egg wash)
Directions
First, begin making the pasta dough. This dough can be used for other types of pasta as well. You can save some dough in the freezer if you want to use it for another project later.
In a large mixing bowl add the flour, charcoal powder, and salt. Mix it all with a whisk. In a separate container, whisk together the eggs and olive oil.
Create a well in the center of the flour mix and pour in the egg mix. With a fork slowly whisk the flour into the eggs, adding more flour to whisk in little by little. Once all the flour and eggs are combined, begin to knead everything with your hands. The dough will begin to form. This takes about 10 minutes of continuous kneading. If the dough seems dry, shaggy, or stringy, add a 1/2 Tablespoon of water to the dough and knead. Keep adding 1/2 Tablespoon of water at a time until you have a smooth dough. If it’s too sticky, sprinkle flour on the outside of the dough and keep kneading. If you poke the dough it should slowly spring back.
Once your dough is ready it now needs to rest. This time is where it hydrates and relaxes the gluten that has developed. Place a damp cloth on top or wrap it in plastic wrap and allow to rest for at least 30 min. If you aren’t working with the dough for many hours then place it in the fridge.
Begin on the filling: In a large pan, heat up the oil on medium heat. Once hot, add the mushrooms, garlic, and shallots. Once they begin to soften add salt, pepper, chicken powder, and oregano. Cook until everything is soft. Taste and adjust seasoning as necessary.
Once the mushrooms are cooled, add them to a large bowl with the ricotta and eggs. Add a few pinches of salt and mix everything well.
If the mushroom and ricotta mix looks wet, ring it through a cheesecloth or clean kitchen towel to remove excess liquid. Once squeezed, the filling should hold its own shape and resemble more of a paste. You DON’t want it to be wet and spread. Cover and let it sit in the fridge.
Roll out the dough: On a smooth, cleared off surface sprinkle flour all over. Cut the pasta dough into 4 pieces. Grab one piece and cover the rest to prevent them from drying out. With your fingers, flatten out the piece of dough you grabbed and flatten it out into a rectangle shape 1/8 of an inch thick, and sprinkle with flour.
Pass the dough through the widest setting of your pasta roller, folding the dough creating a square shape that is the width of the roller, and repeat this 3 times or until you have a square piece.
Dust the dough with a little flour on both sides again and pass it through the next smaller setting. Continue this until you pass the dough one by one, down each setting, finishing at the thinnest setting. Repeat with the other dough pieces you covered originally, making sure to always keep any and all dough covered when you’re not using it.
In a small cup crack in one egg and drop 1 teaspoon of water and beat it together. That’s your egg wash that will act as glue to keep the pasta sheets together.
Place filling in a pastry bag or use a Tablespoon to scoop out.
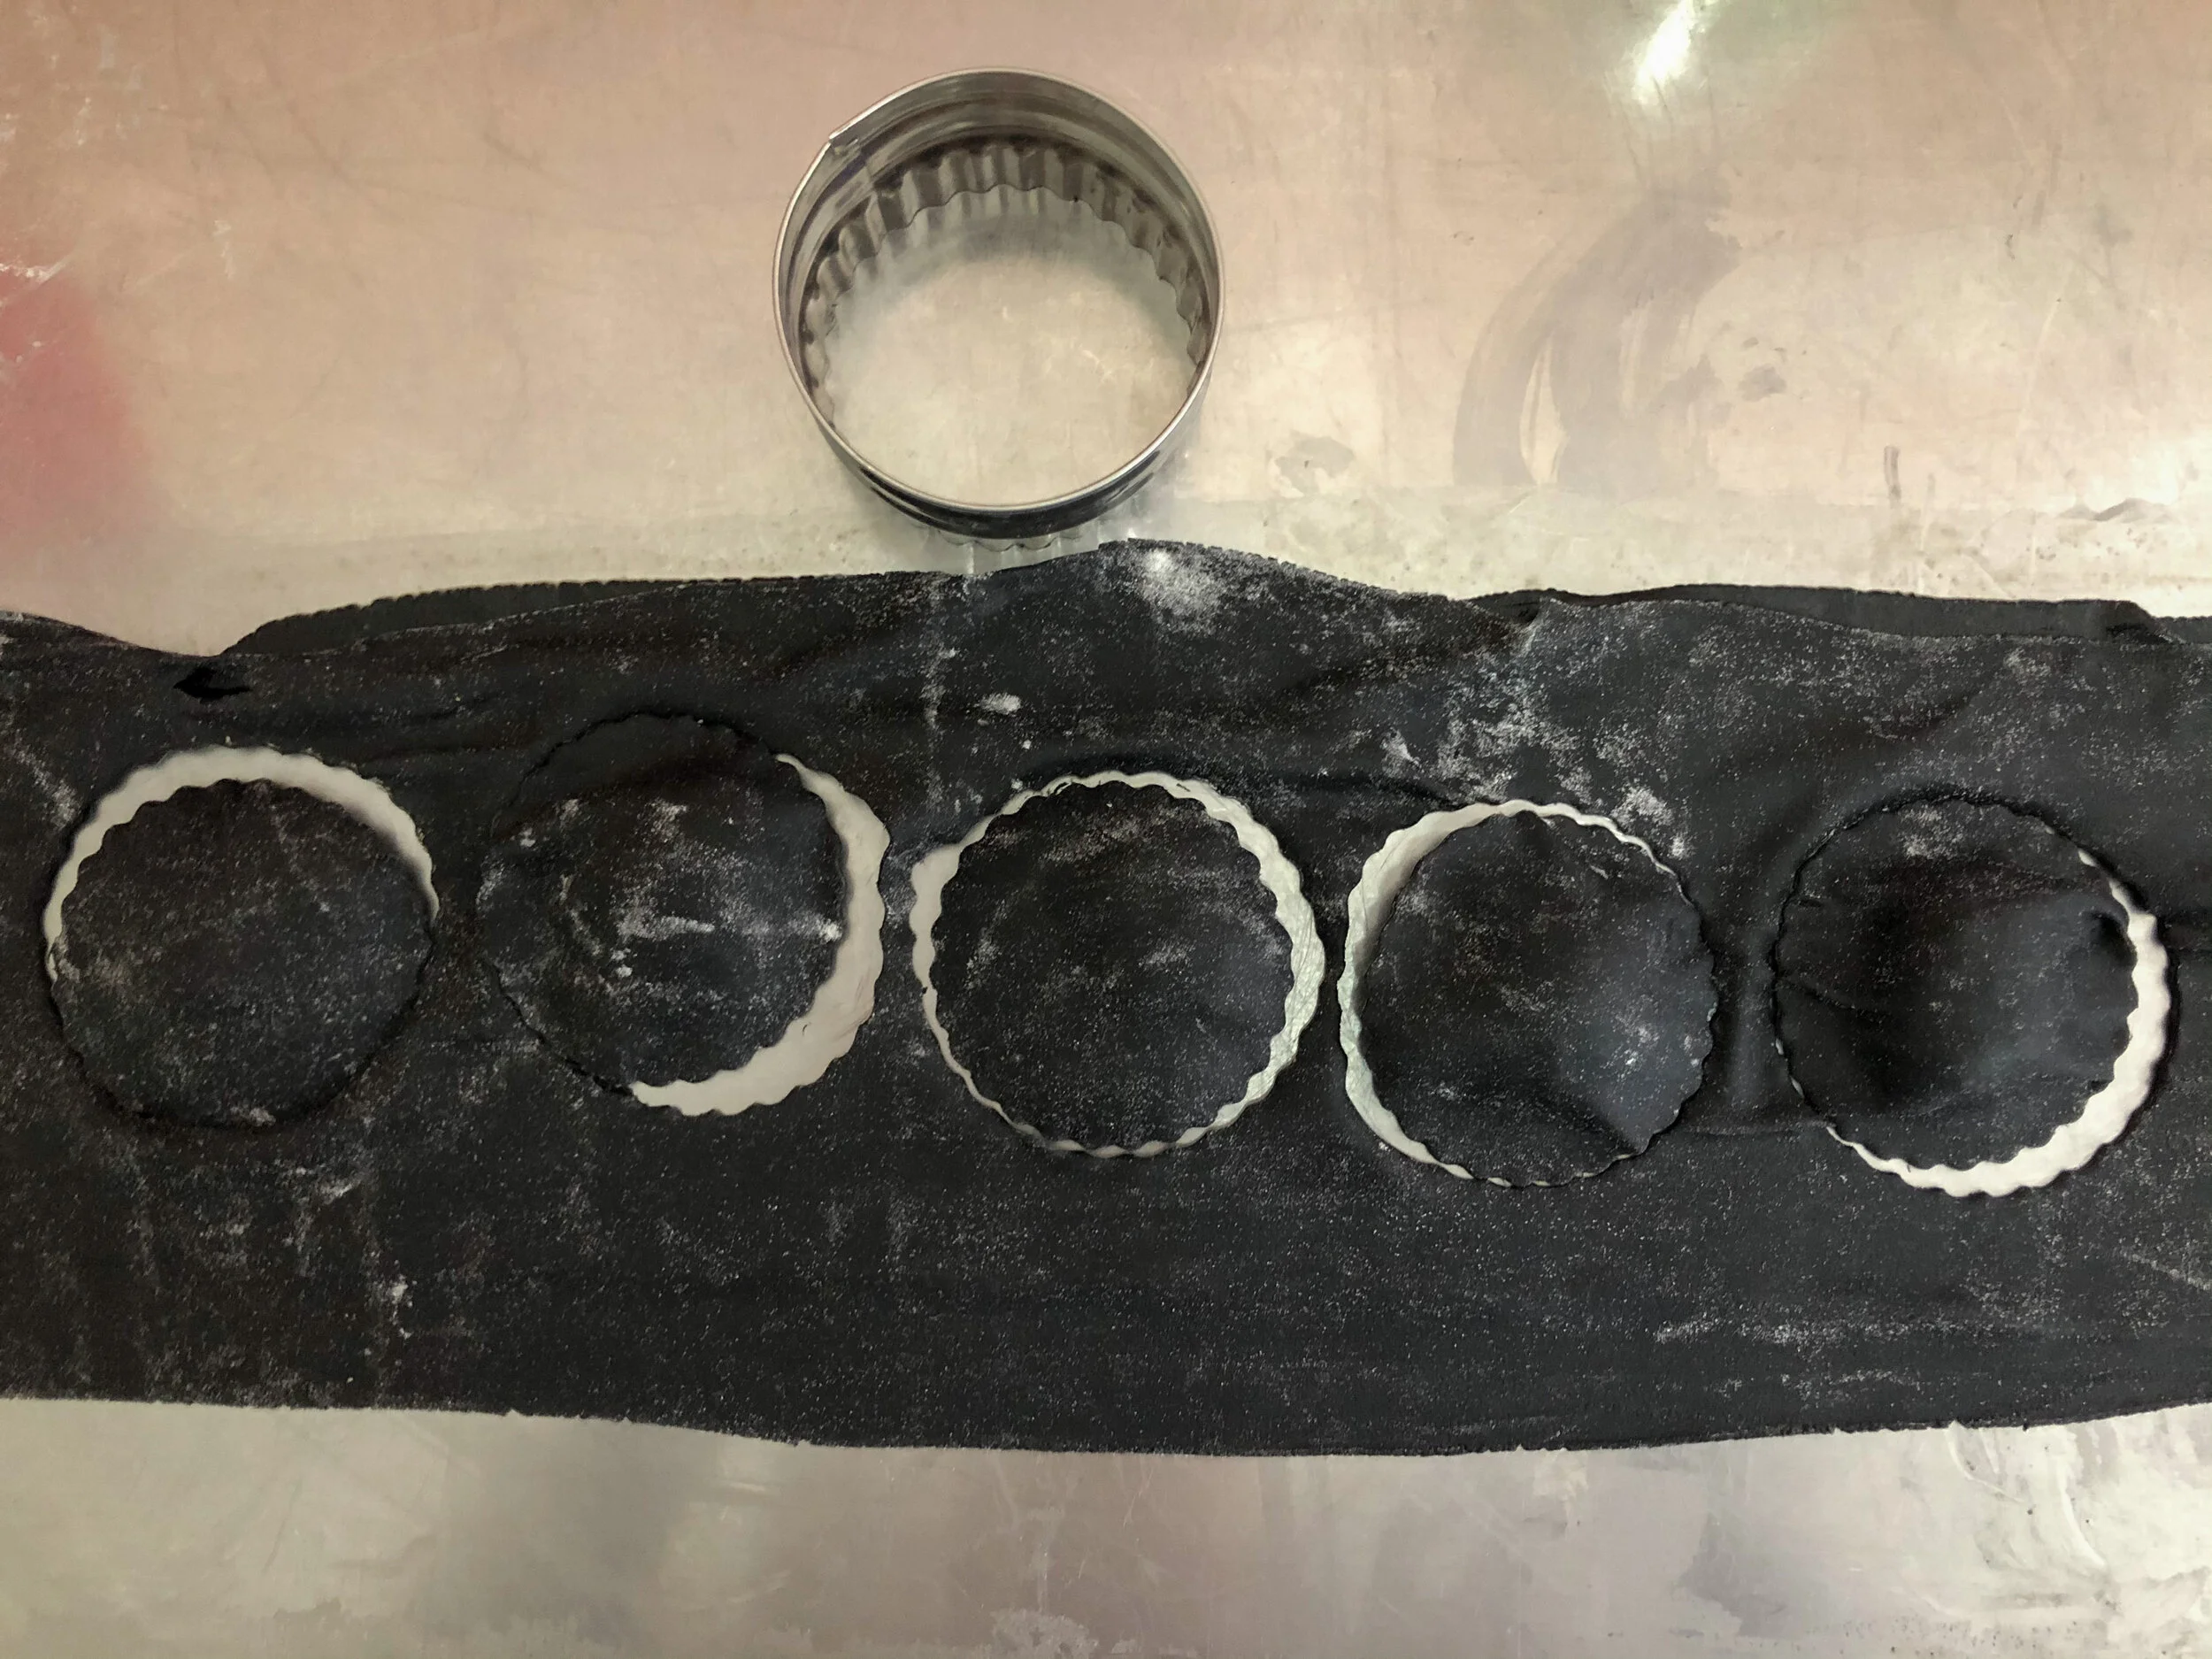
Grab two sheets of rolled out pasta dough that are close in length. On the piece that is less wide than the other place 1 Tablespoon of filling, 1 inch apart on the dough. Brush egg wash along all the edges and on top of the filling. Gently place the wider pasta sheet over the one with the filling pressing along the top edge first to adhere and then gently but firmly pressing along the sides of the filling to secure the doughs to each other, as well as pushing out any air pockets. Press all the edges of the dough making sure they are stuck together.
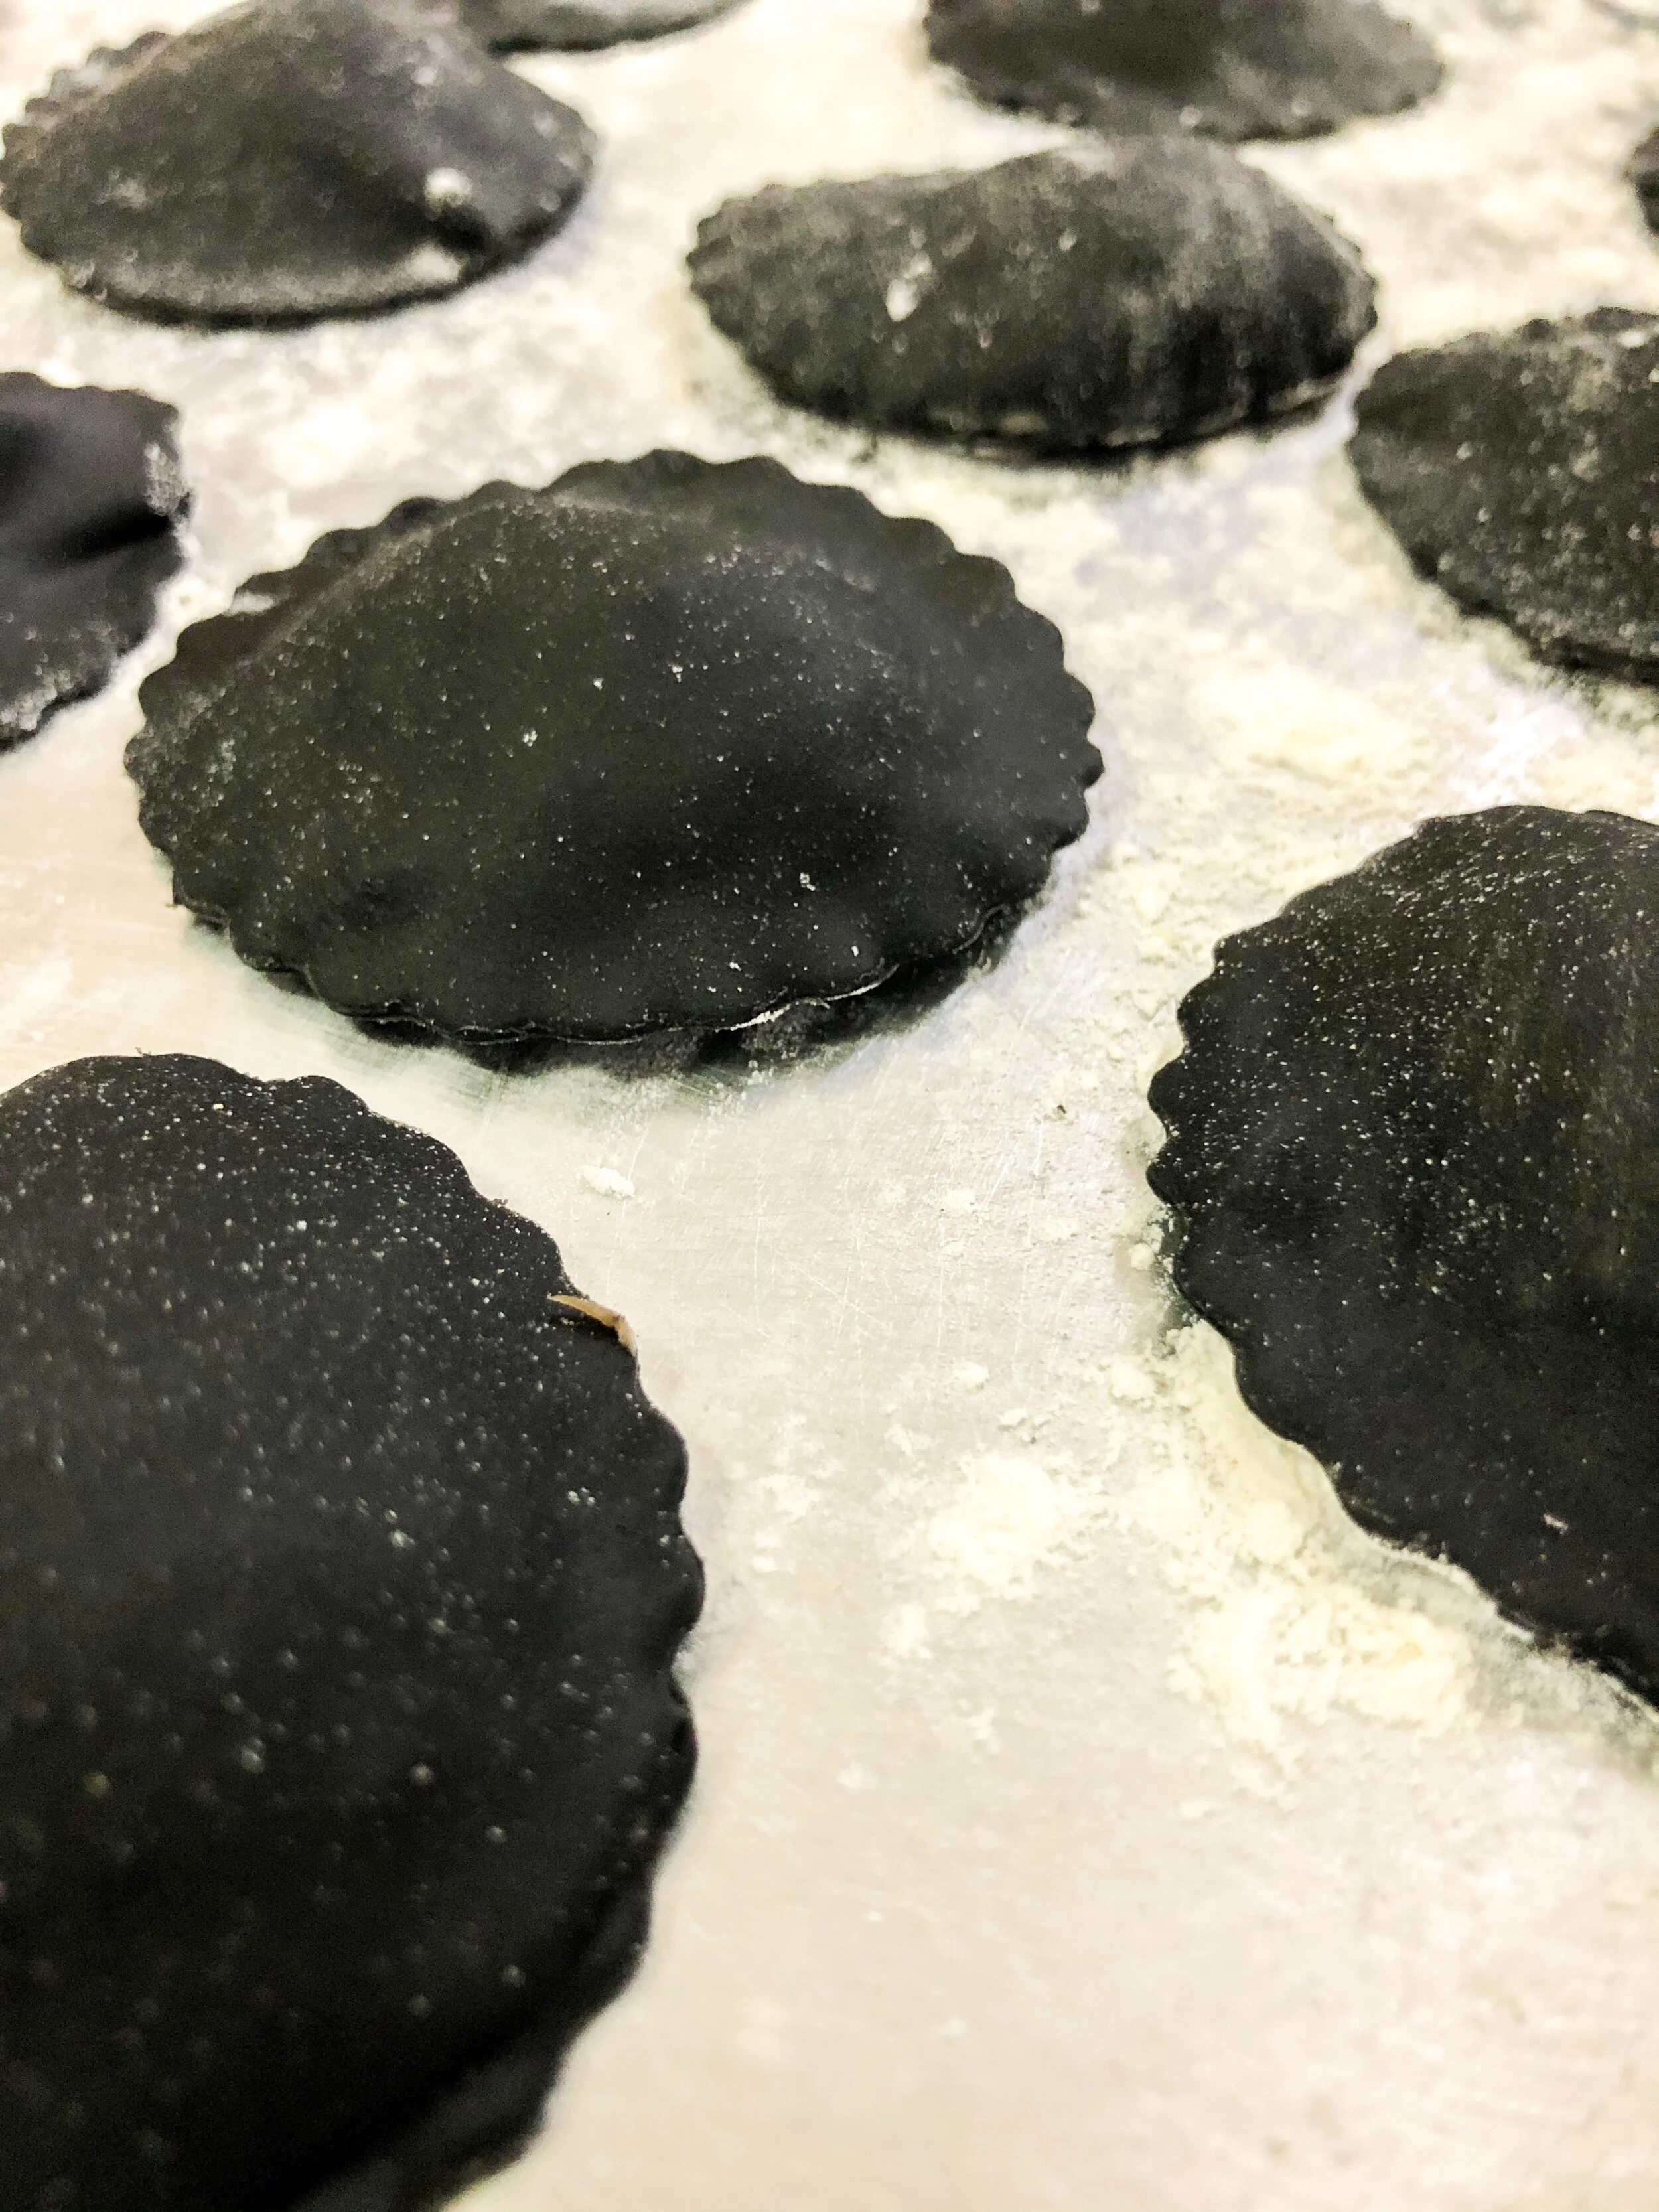
With a cookie-cutter of 2 inches in diameter, cut out ravioli. Place them on a flour-dusted sheet tray. If you are not cooking them immediately they can be placed in the fridge. If you are storing them for another day, place them in the freezer, not toughing, until hard, and then place them all in a bag. They can be frozen for many months. They can be in the fridge, covered, for 3 days.
To cook: boil them for 7 minutes or so, or until the edges feel cooked.
Enjoy!!